Showing posts with label Gift. Show all posts

Monday, October 5, 2015

Recycled Christmas: The 4 Gift Rule

It is the thought that counts. 

This sentiment has caused much debate throughout the generations, but I believe it is a true sentiment. It is the thought that counts. The size of a gift doesn't indicate the quality or the thought put into it. A small gift, when unwrapped, can mean the world to a person and serve as a reminder to the person just how loved they are. While a large gift can serve as a reminder of just how little the person actually knows them. Again, it is the thought not the size, quantity, or expense of a gift that matters. This is where The 4 Gift Rule comes into place.

The 4 Gift Rule is a limit that is put on gift giving that limits a materialistic culture while improving the overall quality of the gifts. The 4 gift categories are something they want, something they need, something to wear, and something to read. The want category is defined by anything the person really wants and is something that would be listed on their Wishlist. The need category is anything they need, but might not purchase for themselves. The wear category is anything that the person can wear, including accessories. The read category is any form of writing that is meant to improve a person's mind. References to The 4 Gift Rule can be found all over the internet. Another version, used by churches, limits the gifts to 3 to symbolize the 3 gifts Jesus received: Gold, Frankincense, and Myrrh.  The gold gift is the gift the person really wants, the frankincense is the gift that they can wear, and the myrrh gift is the gift that improves their mind. These gifts are wrapped in the colors gold, purple, and green. Regardless of which version you choose, limiting the amount of gifts you give allows you the opportunity to purchase well-thought out gifts. 

This doesn't mean that everyone on your gift list has to receive 4 gifts, but that we limit the gifts we give to those who do receive multiple gifts, such as our family. Since this year is a recycled Christmas I am embracing this 4 gift rule for my own family. Picking out the 4 gifts is challenging, but rewarding. I am having to think about the members of my family in different ways and imagining what they would like in each category. Limiting my gifts to 4 has allowed me to free myself from the pressure to buy more and more. I know that I am done when I have checked off each category and I don't have to be tempted to buy something else that I think they might like. The 4 Gift Rule is not without its challenges.

The most challenging part is filling each category and if your family is like mine then you will have an assortment of categories checked off for each person, but be stuck on various other ones. I am trying to purchase most of my gifts from eBay or Etsy and make the rest myself. I have bought some things new, but I am trying to limit the amount of products that will be replaced by companies after purchase. The bulk of my family is A's fans so finding at least one of their gifts has been easy with eBay. Some of the A's gifts I have bought include mustache socks, nail decals, and a Mark McGwire bobblehead. These items were giveaways at games, which mean they won't be reproduced, and are items that I know my family members wanted, but were unable to receive at the baseball games. Other things I have purchased include a devotional book for when you have trouble sleeping and some pencils for a lap desk that I am going to make. The gifts I plan on making include honey-dipped spoons, tea, and a scoodie. I am currently working on a few gift tutorials that I will be posting in the next few weeks.  All of the projects I am choosing are quick and include the use of materials I already have.

Hopefully my ideas for my own family will give you some ideas for your own family. What are your favorite gifts to give? 

Friday, October 2, 2015

Recycled Christmas: Gift Boxes

It is officially October, which means Christmas is now just two months away! There is still a lot to be done, but making your own gift boxes is a great way to finish some of your wrapping needs. Gift boxes are a wonderful solution for those who have difficulty wrapping presents perfectly and to stop peeking. However, gift boxes can be pricey and depending on quality, as well as use, are prone to tearing. Plus it isn't always easy to find gift boxes that match your theme. Yet, I bet that you probably have a lot of cardboard boxes lying around your house or leftover after grocery shopping. These cardboard boxes are usually sturdier than traditional gift boxes, which is why I prefer them to gift boxes. The cardboard boxes don't look like much at first, but with a little wrapping paper and tape they can turn into cute gift boxes for Christmas. I just started making these gift boxes so I have only made two, but these boxes are already proving functional.

I have used both a tea box and a candy box. The tea box is currently storing Christmas cards, labels, and stickers until I am ready to start my Christmas cards. This allows me to store the box, but still maximize the storage available in my Christmas box. The candy box will be used to store homemade goodies and will allow me to ship them more easily. When I first wrapped these boxes they still had their contents, but I stored the contents elsewhere because I liked the boxes and thought they would make wonderful Christmas gift boxes. You can use any boxes you want as long as they have either a lid or are able to close. Another option is to seal up the ends of a box and cut your own lid out of a side on the box. Keep in mind that these boxes need to be functional as gift boxes. 

Choose wrapping paper in a color or theme that you want and use clear or decorative tape to wrap the cardboard boxes, turning them into gift boxes. I used the edge of a ruler to score the wrapping paper on the edges of the boxes. Depending on the box you might need to cut triangles out of the corners to make the edges lie flat. I didn't use wrapping paper on the inside of the box, but this is definitely an option and something to consider if you don't plan on using tissue paper. I have a lot of cardboard boxes left so I will be making more gift boxes in the next few weeks as I purchase more gifts. 

 I love how these boxes look and that they are recycled! Each box is perfectly matched to my theme and allows me to recycle the cardboard boxes that are already coming into my home. The only caution I have is to make sure you match your boxes to your gifting needs so that you don't waste materials on a box that you are not going to actually use. If you have boxes to recycle, but that don't meet your Christmas needs, make sure to check out Pinterest for great ideas to reuse boxes in your home. I have seen many wonderful posts where people turned diaper boxes into storage boxes that looked store bought so the options are endless. 

Gift boxes are not the only option for gift wrapping and are not necessarily useful  for certain items. For those odd shaped items gift bags are a wonderful solution. Next week I will show you how to make a gift bag from wrapping paper and other gift wrapping ideas using recycled materials. Do you have a favorite gift wrapping method? Or ideas to use recycled materials in gift wrap? I can't wait to hear your ideas for having a recycled Christmas!

Friday, August 14, 2015

Hello Kitty


Happy birthday to my sister! My little sister turns 23 today and next week we are going to be celebrating her birthday at a baseball game. If you are a frequent visitor to BooBear Designs then you know that my family and I are huge Oakland A's fans. For those of you who don't know, the Oakland A's are a MLB baseball team located in California, across the bay from the San Francisco Giants. Anyways, my sister is also a huge A's fan and she also loves Hello Kitty. For her birthday, besides the ticket to the baseball game, I decided to make her a Hello Kitty A's t-shirt to wear to the baseball game. The t-shirt also matches a coin purse I bought her a few months ago. 

A few weeks ago I posted my tutorial on designing and creating t-shirts using freezer paper. In the post, I mentioned that it was helpful to use markers to outline the template or to color in pieces that you wanted to keep, etc. This was a necessary part for creating the stencil for the Hello Kitty t-shirt. When I designed the template and traced the stencil on freezer paper I hadn't considered how I was going to cut out the pieces and make a usable template. Outlining and coloring in the pieces of the template provided me with a visual to use when creating my stencil. I ended up cutting out each piece and then reassembling the pieces on the t-shirt to recreate the design. I fit the pieces together and then removed one piece at a time to paint. I decided on the pieces to remove based on color, going from dark to light. In general, you want to paint from dark to light as dark colors are easier to fix if you make a mistake. It is a lot easier to cover up a white spot on black then a black spot on white. 
For the most part, this t-shirt design worked up quickly and I was really lucky that the paint dried fast. As soon as I finished with one piece the paint was dry and I was able to start another piece. The face and hat of Hello Kitty took the longest because they required multiple layers of paint. The outline of black is visible on the black t-shirt, but not overwhelming. The outline was crucial for identifying the features of Hello Kitty. I was not able to make a stencil for the bow and had to freehand the outline, but I think the bow turned out well. 

Is there a sport's team or character that you can't get enough of? Combining these can lead to a truly one-of-a-kind piece of memorabilia for you or a loved one. 

Sunday, July 5, 2015

Gift Planning: Pick a Theme and Start Planning

Today is July 5th, which means we are just 5 days over the half-way mark of the year. For me, I think July is a good time to reflect and to refocus on what you want for the second half of the year. Do you want more time with family? Do you want more vacations? Do you want to be more creative and craft more? Whatever it is that you want to accomplish, you have to take time to refocus, and to begin to lay the foundation for the rest of the year. Summer is busy, life is busy, and time is fleeting. Plus we live with this concept of plenty of time until it is all gone and we are left with scraps, unable to fully enjoy the moment. July, and summer in general, for me is a time to reflect on the year, to think about the second half of the year's gifts/events, and to refocus on what I want to accomplish. Today, the primary focus is on the gifts and events that are on the horizon for the rest of the year.
I don't know if this is just me, but I really like to think of a theme when I am giving gifts. If you have read any of my Christmas preparation posts then you know that establishing a theme is what focuses me and allows me to make critical decisions about content. Choosing a theme isn't always easy when it comes to giving a gift, but I try to start with one item I know they need or that they want. For my cousin's baby shower I chose Goofy because I knew she has loved Goofy since she was a little girl. I then utilized Google to further refine the desired contents of my gift and decided upon a Goofy outfit, which I would crochet for her. I explored various options, but decided for the time constraints that I had I would combine store bought items, such as a onesie, and handmade items, such as the beanie, diaper cover, and booties. I then added to the outfit by including another handmade item, a Goofy hat for her, and a store bought item, a Goofy plushie for her baby. The gift itself was small, but it was well-thought out and took a lot of time so I don't want anyone to think that size should matter in determining a gift for someone. 

My cousin's baby shower is just one example of how I use a theme to help decide upon and execute a gift for someone, but I can't state enough how helpful it is to have a theme. As I spend today reflecting on the remaining events this year, I am thinking of themes and planning gifts, all of which include handmade aspects. The best part about a theme and advance planning is that I get to compile the gift as I go along and in this way the gift is well thought out. I am able to find things I wouldn't have been able to find last minute or I am able to find unique items from my adventures and travels that you just can't find near the gift recipient. In a previous post on  gifts I shared an idea for storing gifts, both gifts for last minute events and for the pieces of themed gifts. Using a photo storage box I am able to store most of the items I will use for gift giving. Right now my box is full of various items that can used for last minute gifts or incorporated in Christmas, such as various lotions, perfumes, and an assortment of notepads. I also have a Hello Kitty wallet and a 49ers scarf that are reserved for specific recipients. 

My most helpful tip for gift planning is picking a theme, but I know that it can be just as overwhelming to organize your thoughts after picking a theme so here are some additional tips. 
Gift Planning
  1. I created a table, shown right, that allows me to write down all of my ideas and needs when gift planning. The table is explained in tips 2-5, listed below. The table includes a generic row and then a specific row with a real example of a gift I am planning.
  2. Decide on a spending limit. It is important to decide on a spending limit or you will be tempted to buy more. Making a budget isn't fun, but it will save you regret later. 
  3. Decide if you want to make anything and then remember to factor in the supplies you need as part of your budget. It might not seem like you are spending that much, but the cost of supplies adds up quick.
  4. If you decide that you will be making a part of a person's gift then you need to realistically determine how much time you need to finish the gift. Remember to give yourself extra time because accidents happen and there are days when you just don't feel like working on it. 
  5. Brainstorm categories or types of items you want to include in your gift. If your theme is sports then you might write down sports gear or an athlete's autograph. This isn't a shopping list, but a way of helping you focus when you are looking at these types of items. 

Friday, April 25, 2014

Christmas Preparation: Budget Planning

Maybe Christmas she thought doesn't have to make me poor...maybe this Christmas perhaps I should budget more. Dave Ramsey once said, "A budget is telling your money where to go instead of wondering where it went." There is no denying Christmas is expensive, but it doesn't have to leave you poor this year. Creating a budget, along with saving throughout the year, is an effective way to have a wonderful Christmas without spending a fortune. Use the gift planning template, menu template, and decorations template in the Christmas Planner template posted in February. It is April so I don't blame you if you don't have a complete grasp on gifts, menu, or decorations needed for December, but take what you do know already and start filling out your templates. 

Last month I posted the two ideas I have for handmade gifts, but I don't really have specific ideas for everyone else on my list. Yes I know sizes, favorite colors, sports teams, scents, etc., but I have yet to see how it will all fit together. This indecision can lead to an abundance in gifts for one person and none for another, but I have two tips for combating the gift and spending overload. Tip #1: Set a number of gifts per person. A few years ago my church put forth a 3 gift rule. The 3 gifts are representative of the gold, frankincense, and myrrh given to Jesus as a baby. One gift was to be the gift the person really wanted, another gift was something that would benefit the person spiritually, and the last gift was something the person would wear. Obviously you could tweak this a bit to fit your needs better, but the idea is great for keeping track of gift giving. Tip #2: Set an overall budget for gift giving and then divide the total into smaller increments for individual gift budgets. If your total budget is $500 then allot $300 for immediate family, $90 for relatives, $90 for friends, and $20 for emergency gifts or work parties. Stick to the budget your set and keep your receipts to keep track of your total spending. 

Tip #2 should be implemented for menu and decoration planning too. These are more easily planned in advance and more easily budgeted for. Ingredients like canned food can be bought and stored in advance. Shop sales in advance. This also means knowing the best sale price for a product. Save money on decorations by recycling old Christmas decorations. If you want gold Christmas ball ornaments then take gold spray paint to last year's red ornaments. Consider making your own decorations from recycled materials you already have at home before rushing out to buy more.

52 Week Money Challenge
Even budgeting and recycling materials will leave you broke if you don't start saving now. You can set a certain amount of money aside each week or month for Christmas or a certain percentage of your paycheck. We are already 12 weeks into this year, but the 52 week money saving challenge is a great way to put away money throughout the year. If you would rather do a percentage of your check then I recommend saving 10% of your first week's check for gifts and next paycheck 5% for menu and 5% for decorations. Obviously, adjust the percentages as needed.

Have your own tips for saving money this Christmas? Be sure to leave your tips in the comments below and stay tuned for next month's Christmas preparation post. 

Monday, March 31, 2014

Organizational Tips: Kid's Art Work


Children are wonderful, for so many reasons, but especially for their love of gifts. Children love to create art and pickup little "gifts", which they then eagerly share with the adults in their life. You have probably accumulated numerous pieces of artwork and/or little gifts whether you have kids of your own, have little ones in your family or life in general, or are a teacher of young children. These organization tips are mainly for parents, but can be useful for anyone with young children in their lives. 

Tip#1: Choose your child's favorite artwork or your favorite piece of their artwork and put the pictures in frames that match your decor. Depending on preference you can create an art gallery or hang the artwork in your office. Don't want to display the artwork in frames? Display the pictures in magnetic frames on your refrigerator.

Tip#2: Create files for each of your children. Throughout the year put their artwork in the files. Try your best to record the date, the child's age, and the child's description of their artwork.

Tip#3: Once a year have the child go through their artwork and purge the unwanted art. Choose a number to keep ahead of time. Make a scrapbook of your child's kept artwork. The description of the artwork will be a great keepsake in the future. An alternative to this is photos of the artwork and then creating a photo book on Shutterfly or Snapfish.

Bonus Tip: Photos of your child's artwork can be made into cards or photo gifts for family. Custom thank you cards can be made for each child using their favorite artwork. Parents of young children can type or hand write a standard thank you message and have the child practice "signing" their name. Relatives would love receiving this thank you card.

If you have more ideas of how to store children's mementos or artwork please share your ideas below. Areas of organization you want to see more of in the future? Comment below and I will include tips for those areas in a future post. 

Sunday, March 23, 2014

Organizational Tips: Gifts

The last few months I have talked a lot about gift giving planning as well as gift ideas that are quick and easy to make ahead of time for last minute emergency gifts, but I haven't talked about how to store/organize these gifts. This week's tips are are devoted to organizing and storing gifts. I have gifts for specific people in my life, birthdays or other celebrations, as well as emergency gifts for unexpected events. These gifts are stored together while gifts for Christmas are stored separately. I store Christmas gifts separately because the gifts only really need to be accessed once a year while other gifts are constantly being used throughout the year. If you have a large family consider storing each person's gifts separately.

Tip #1: Store gifts in storage bins, boxes, and baskets. Choose your storage so that it matches other storage in your craft area. If you have snoopers then blending it with your storage is great, but also consider not labeling the boxes or bins. I chose photo boxes that matched my craft storage. Currently I have 4 photo boxes devoted to gift storage: family gifts that are small, emergency gifts for unexpected celebrations or events, charity donations, and Etsy sales. Granted charity donations and Etsy sales are not traditionally gifts, but I have stored them with my gifts because I access these boxes the same amount and they are typically the same type of things stored. 

Optional Tip: Large gifts can be stored in larger bins or baskets, but don't go overboard. The majority of my gift storage is meant for smaller gifts because that is the majority of the gifts I ended up storing for long periods of time. However, frequently some aspect of the gift is usually larger than what will fit in my photo box. I don't really have storage set aside for large gifts and store the gifts as I accumulate them, mainly because I usually purchase large gifts closer to the birthday or celebration. That said, if you have the space and the need, then store larger gifts in bins or baskets, but don't purchase too many boxes.

Tip #2: Create an inventory of your gifts or items. Depending on your needs or preferences, type or write a simple inventory of items in each boxes. Include who the gift is for if you think you might forget. Finally include an envelope for gift receipts. This may not be necessary for you, but it is helpful if you have lots of store bought gifts. If you tend to purchase gifts in advance then be aware that gift receipts are only good for a set amount of days before items can only be returned for store credit. 

Optional, but helpful tip: Have many different gifts saved as emergency gifts. This isn't really an organization tip, but will help save you stress throughout the year. Personally, I never had the budget to just go out and shop for emergency gifts, but I have also never had a shortage of gifts. I keep my emergency gift box stocked through reward programs and choice shopping during annual sales events. If you have extra time on your hands, or even 5 minutes once a week, online surveys are great for accumulating gift cards or small cash rewards that can be stored away or used to purchase gifts. My favorite online survey, shopping rewards, and participation points website is MyPoints. I have been using MyPoints for the last few years and have been rewarded with many many gift cards, including Starbucks, Macy's, Red Lobster, and the Rainforest Cafe. The total amount claimed, between all of the gift cards, is something close to $100.
With MyPoints I am rewarded through online shopping, survey taking, and general participation in clubs. 
The other online shopping reward company I love is eBates. eBates gives you cash back for shopping online through their website. Unlike MyPoints, eBates gives rewards in the form of a check or PayPal. 
I am really bad about just cashing the check and spending the money, but if you can resist the temptation then eBates checks are great for spending on emergency gifts. 

I know there are people reading this and wondering what gifts I have in my emergency gift box and what gifts make great last minute gifts so hopefully I can help answer those questions. The gifts in my box are headphones with bag (I have about 6 pairs), iTunes gift card ($10), Victoria's Secret Fantasy lotion and perfume set, bath salts, and an assortment of beanies. The headphones were actually free gifts that I received when I ordered off of  the Greater Good Network's websites: Animal Rescue SiteBreast Cancer SiteThe Hunger SiteThe Literacy SiteAutism Site, and The Veteran's Site. These websites frequently offer promotions with purchase that would make great gifts. I have received the headphones, socks, coin purses, bracelets, necklaces, ornaments, and a purse as free promotional items. The Victoria's Secret Fantasy lotion and perfume set were left over from a larger set of perfumes and lotions, which I used as gifts at Christmas. Emergency gifts are any small gifts that you would like to be gifted as well as small gifts associated with specific interests. The iTunes gift card and headphones will make a great gift for someone who loves music while the bath salts, lotion, and perfume are a great gift for someone who likes to be pampered (pair with a gift certificate for a spa service, massage, or manicure for a more luxurious gift). 

I like keeping beanies, booties, and receiving blankets as emergency gifts as well because you never know when you will need a baby gift. For instance my coworker, who I met when she was already 7 months pregnant, had her baby early, which meant that I wouldn't have had enough time to make a nice baby gift had it not been for the baby gifts in my emergency gift box. These gifts also work great for the baby shower you forgot about or the unexpected invitation to a baby shower you weren't planning on attending. If you don't have a lot of babies in your life, but do have many young children or soon-to-be recent graduates, then something similar will work for you too. For young children, accumulate a lot of party favor type gifts, such as crayons, coloring books, and games, as well as dolls, Legos, and cars. Obviously for a child you knew well you would find more personalized gifts, but small toys work great for that child you weren't planning on gifting to. For graduates I suggest gift cards and small items that are either functional for college or sentimental. Young adults are very adamant about picking out their own items, especially for college, so I wouldn't suggest too many functional items, but you could always purchase laundry bags with silly sayings and a roll of quarters. Great sentimental gifts include Dr. Seuss' "Oh the Places You'll Go" with an encouraging note written to them inside or a collection of your own favorite recipes you made in college. 

When I graduated high school, and actually college too, most of my gifts were impersonal in the form of cash or gift cards with more personal sentiments expressed in the form of cards, but I did receive one sentimental gift, which was a College Humor book of college experiences, and would have enjoyed receiving similar gifts. Everyone has their own preferences though so don't feel bad if you just want to stock up on various cards and gift cards as emergency gifts for graduation, or any other event you may have to attend. 

Monday, March 3, 2014

Quick Gifts: Baby Blanket Play Mat


Today is March 3rd, which means it is time for another quick gift idea. This month's gift idea and tutorial is for  Pastel Baby Blanket Play Mat. In a previous post I showed pictures of my sketch for this blanket, the yarn used, and the progress made on this blanket. The blanket is now finished and I am happy to be able to share this pattern with my readers. I love how quickly this blanket worked up and it is definitely a quick project for a lazy weekend at home. I designed the pattern as a baby play mat, but when the play mat was finished it ended up doubling as a blanket too. I used chunky yarn so the blanket play mat would be thick to provide maxim comfort for a little one playing on the floor. 

Pastel Baby Blanket Play Mat

The materials needed are: 

5 skeins of Bernat Softee Chunky Yarn in Baby Pink,
2 skeins of Bernat Softee Chunky Yarn in Sleepytime
1 skeins of Bernat Softee Chunky Yarn in Baby Blue
Crochet Hook Size N

Project instructions:

With crochet hook Size N and Bernat Softee Chunky Baby Pink, cast on 60 stitches. Cast on 1, single crochet in each stitch across. Continue for 14 rows or until skein of yarn is used up.
Switch to Bernat Softee Chunky Baby Blue and crochet in each stitch across for 3 rows.

Switch to Bernat Softee Chunky Baby Pink and continue to crochet in each stitch across for 42 rows or until you have finished 3 skeins of Bernat Softee Chunky Baby Pink Yarn.

Switch to Bernat Softee Chunky Baby Blue and crochet in each stitch across for 3 rows.

Switch to Bernat Softee Chunky Baby Pink and continue to crochet in each stitch across for 14 rows or until skein of yarn is used up.

Switch to Bernat Softee Chunky Sleepytime and crochet a border around the edge of the blanket. The amount of rows depends on border preference.


Monday, February 24, 2014

Gift Planning Tutorial

February is almost over, which means it is almost the start of my gift giving season. Between my family and friends I have many birthdays from March through November, which usually leaves me feeling a bit frazzled thinking of gift planning. I have never implemented an organizational system for gift planning throughout the year, but as I was working on the next Christmas Preparation post I thought it would be a good idea. Of course I immediately sat down at my computer and started typing a template for monthly gift organization and another template for gift ideas, both of which are crucial for gift planning organization. The link to view and download these templates will be posted under the pictures below.

Gift Planning Template
Monthly Gift Template
I designed the Gift Planning Template to organize your gift recipients' favorite colors, scents, and activities as well as their shoe, pant, and shirt sizes. Depending on the person this gift planning page can be used over and over again. I have only printed 2 of these gift planning pages for use with my immediate family. Eventually I will be using more of these pages, but for this tutorial only 1 page is needed. I designed the Monthly Gift Template to record all of the birthdays for a given month, the gift you plan on giving, whether it is completed if you are making the gift, and whether you wrapped the present. If I ever create my own personal planner I will definitely be incorporating this template page every month and of course I will be sure to post the templates and pictures here.

_________________________________________________________

As a reminder the promo code FOOTBALL50, to be used in my Etsy store BooBear Designs, expires in 4 days on February 28th, so be sure to check out the football team hats before then. There are ONLY 3 team hats left: San Diego Chargers, New England Patriots, and Seattle Seahawks. Be sure to enter the promo code shown above for 50% off these hats.

Monday, February 3, 2014

Quick Gifts: Basic Crochet Hat

It is February 3rd, which means it is time for a quick gift idea. While each item I will post makes an excellent gift for a loved one, all of the gifts also make wonderful donations for local charities. I personally love to collect patterns or ideas for items that can be made in a day or a weekend. I usually make a portion of these patterns and store the items away to use as last minute gifts. This month's gift is one of those patterns I encourage my readers to make in advance and store. This pattern is a great gift for the little one in your life,  but also is an adorable donation to local charities. 

Since it is February and freezing in every state except California, this month I will be sharing my pattern for a simple crochet baby hat using Red Heart Super Saver Yarn. The pattern is super basic for beginners, but easily customized for advanced crocheters. I currently have a dozen of these hats made in various stages of customization for each season this year and have made countless others for gifts or donations.

Basic Crochet Hat

Pattern instructions written for newborn, toddler, and adult sizes (small/woman's and large/man's). Read instructions carefully to see where the increase stops for the size you are making. Ending stitch count for all hat sizes is in parentheses at the end of each round for instructions for all hat sizes.

Estimated time to complete is a few hours, depending on embellishments used.

Materials Needed:
1 skein of yarn in color of choice
Crochet hook size G
Yarn Needle, optional
Embellishments, optional

Directions
Round 1. 
Make a slip knot on crochet hook, chain (ch) 6, slip stitch (sl) to join, being careful not to twist.
Round 2.
Ch 1, 2 single crochet (sc) in each stitch (st), sl to join first st (12 st)
Round 3.
Ch 1, *2 sc in next st, sc in following st, repeat from * around, sl to join. (18 st)
Round 4.
Ch 1, *2 sc in next st, sc in next 2 st, repeat from * around, sl to join. (24 st)
Round 5.
Ch 1, *2 sc in next st, sc in next 3 st, repeat from * around, sl to join. (30 st)

For newborn size only stop increasing and sc in each st for 10 rounds.
For all other sizes continue to  increase.

Round 6.
Ch 1, *2 sc in next st, sc in next 4 st, repeat from * around, sl to join. (36 st)
Round 7.
Ch 1, *2 sc in next st, sc in next 5 st, repeat from * around, sl to join. (42 st)

For toddler size only stop increasing and sc in in each st for 8 rounds.
For adult sizes continue to increase.

Round 8.
Ch 1, *2 sc in next st, sc in next 6 st, repeat from * around, sl to join. (48 st)
Round 9.
Ch 1, *2 sc in next st, sc in next 7 st, repeat from * around, sl to join. (54 st)
Round 10.
Ch 1, *2 sc in next st, sc in next 8 st, repeat from * around, sl to join. (60 st)

For adult small (woman's) size only stop increasing and sc in each st for 5 rounds.
For adult large (men's) size continue to increase.

Round 11.
Ch 1, *2 sc in next st, sc in next 9 st, repeat from * around, sl to join. (66 st)
Round 12.
Ch 1, *2 sc in next st, sc in next 10 st, repeat from * around, sl to join. ( 72 st)
Round 13.
Ch 1, *2 sc in next st, sc in next 11 st, repeat from * around, sl to join. (78 st)
Round 14.
Ch 1, *2 sc in next st, sc in next 12 st, repeat from * around, sl to join. (84 st)
Round 15.
Ch 1, *2 sc in next st, sc in next 13 st, repeat from * around, sl to join. (90 st)

ALL SIZES
Round 15-17
Ch 1, sc in each st around, sl to join (30, 42, 60, 90 st).
For newborn size only, cut yarn and bind off after round 17.
Round 18-20
Ch 1, sc in each st around, sl to join (42, 60, 90 st).
For toddler size only, cut yarn and bind off after round 20.
Round 20-24
Ch 1, sc in each st around, sl to join (60, 90 st).
For small adult (woman's) size only, cut yarn and bind off after round 24.
Round 25-28
Ch 1, sc in each st around, sl to join (90 st).
For large adult (man's) size only, cut yarn and bind off after round 28.

For all sizes weave in lose ends and embellish hat as you wish.

____________________________________________________________________

These are some of the hats I have made using this pattern. As you can see adding embellishments can really transform these hats into something adorably cute and a priceless gift for the children in your life. If the pattern or hat is listed for sale on my Etsy Shop, BooBear Designs, then a link is posted as a caption under the photo.


Chargers Football Hat
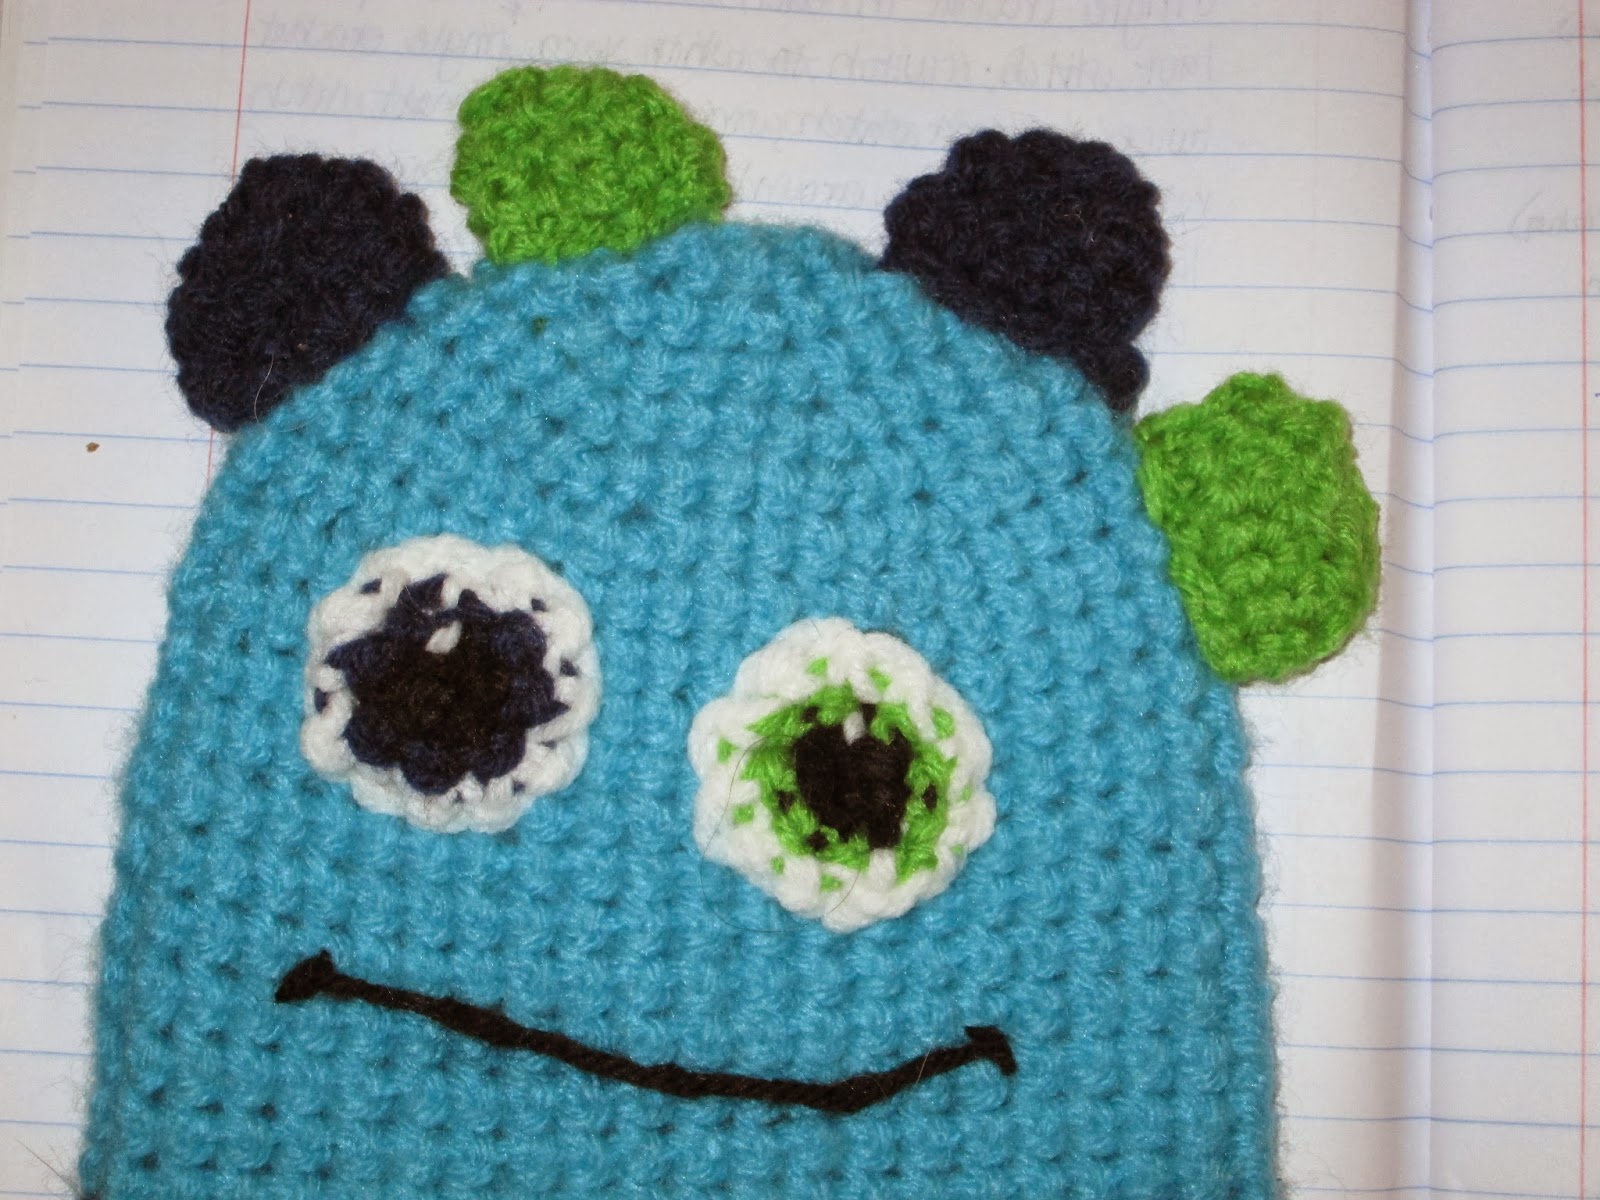
Mike Monster Hat